Do you want to see a mural?
Putting it in my daughter’s trolley made it even more funny!
Creating the artwork in Uncle Matthew’s was the best excuse for me, an artist, to let loose and basically go nuts. So, on Boxing Day we headed to our local Bunnings and I ordered 25 sample pots at the paint counter. You should have seen the guys face, I think he thought he was being punked. I was so apologetic though, so they had a laugh with me and when they (yes, ‘they’, he had to call in reinforcements!) had finished I caught them taking photos! I did think there was a distinct possibility the pics would end up on facebook with the title “look what this arsehole customer did to us today!” But I was just happy I finally had the paint I needed for the murals!
Having been obsessed for years with mid-century style, the choice was made (after hundreds of inspo pics were added to a pinterest board) to jump in and start painting.
Painting a mural is as simple as: designing your piece, lightly sketching with chalk or very light pencil, and filling with paint. You have to possess three personality traits though…
Determination, persistence and an extremely steady hand!
Mural 1:
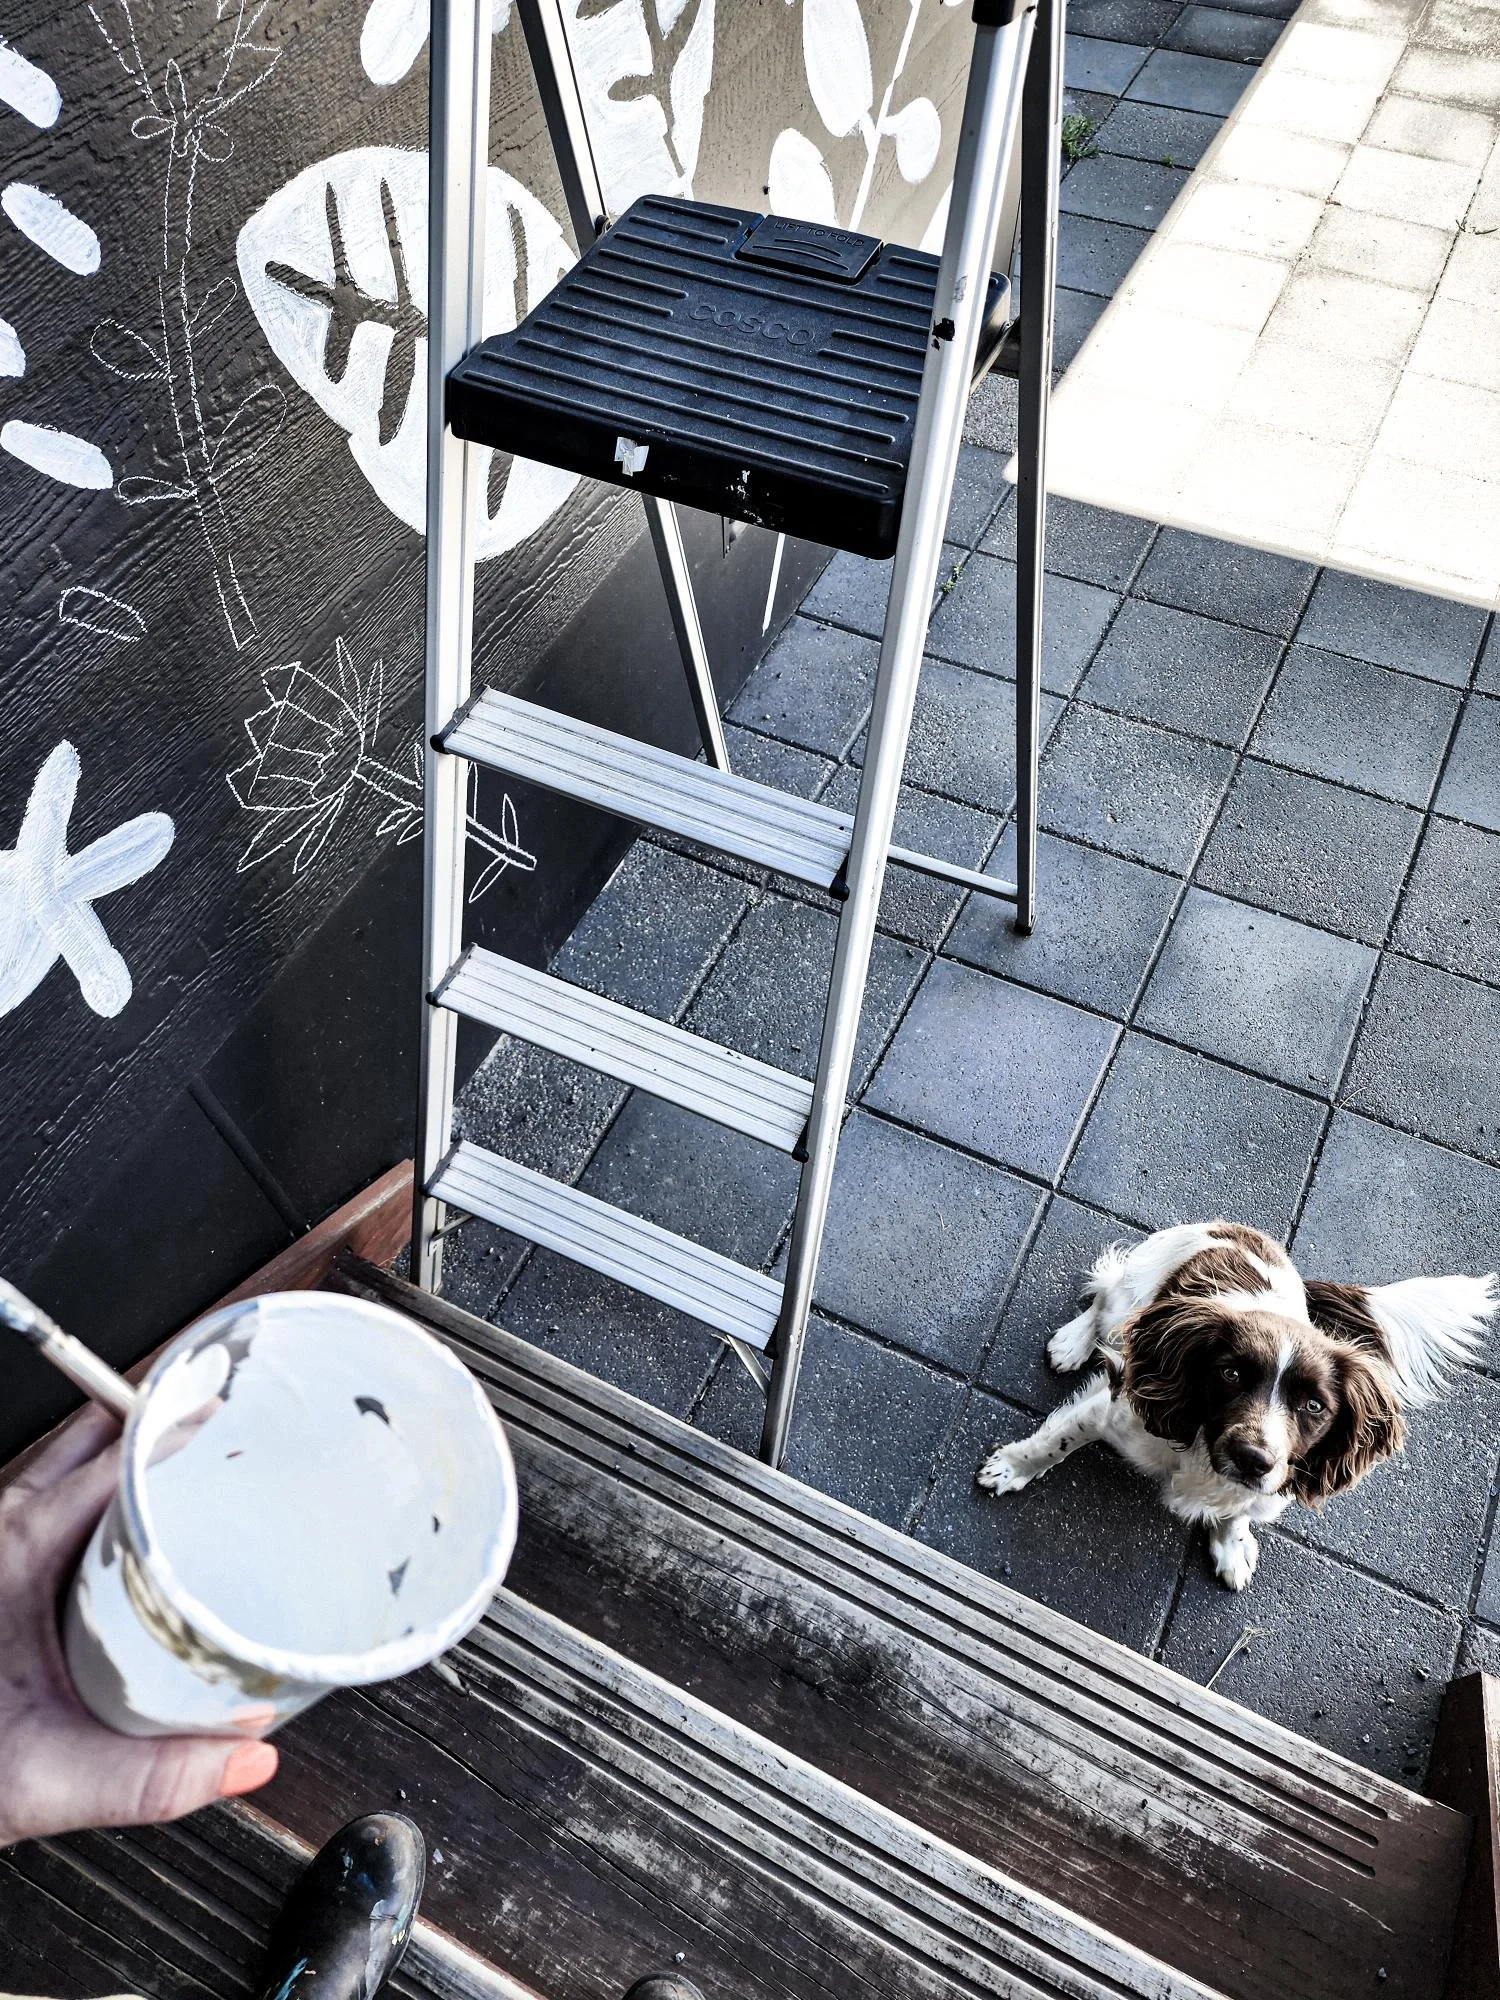
The outside mural was started first. Its location chosen because as you arrive, it will welcome you! It was hard to cover the black house paint, so multiple layers were required. I’m so scared of heights so standing on a tall ladder is not my idea of fun. I did have my project manager, Sandra (my springer spaniel on hand) which really didn’t help much! I started by free handing the shapes in chalk and chose a Scandi feel. If you’d like to try a mural, my advice would be to always sketch in chalk first. It’s easy to wipe if you make a mistake and it’s easily covered by paint.
Our lovely friends next door were enjoying watching the progress over the back fence and they gave me a boost when I was wondering why I’d started (which tends to happen somewhere near the middle of every big art project I’ve ever done!)
There’s more work to do on this one, but I’m waiting for my ladder confidence to appear! My biggest fan (daughter Bridie) loves it and couldn’t wait to be the first to have a pic!
Mural 2:
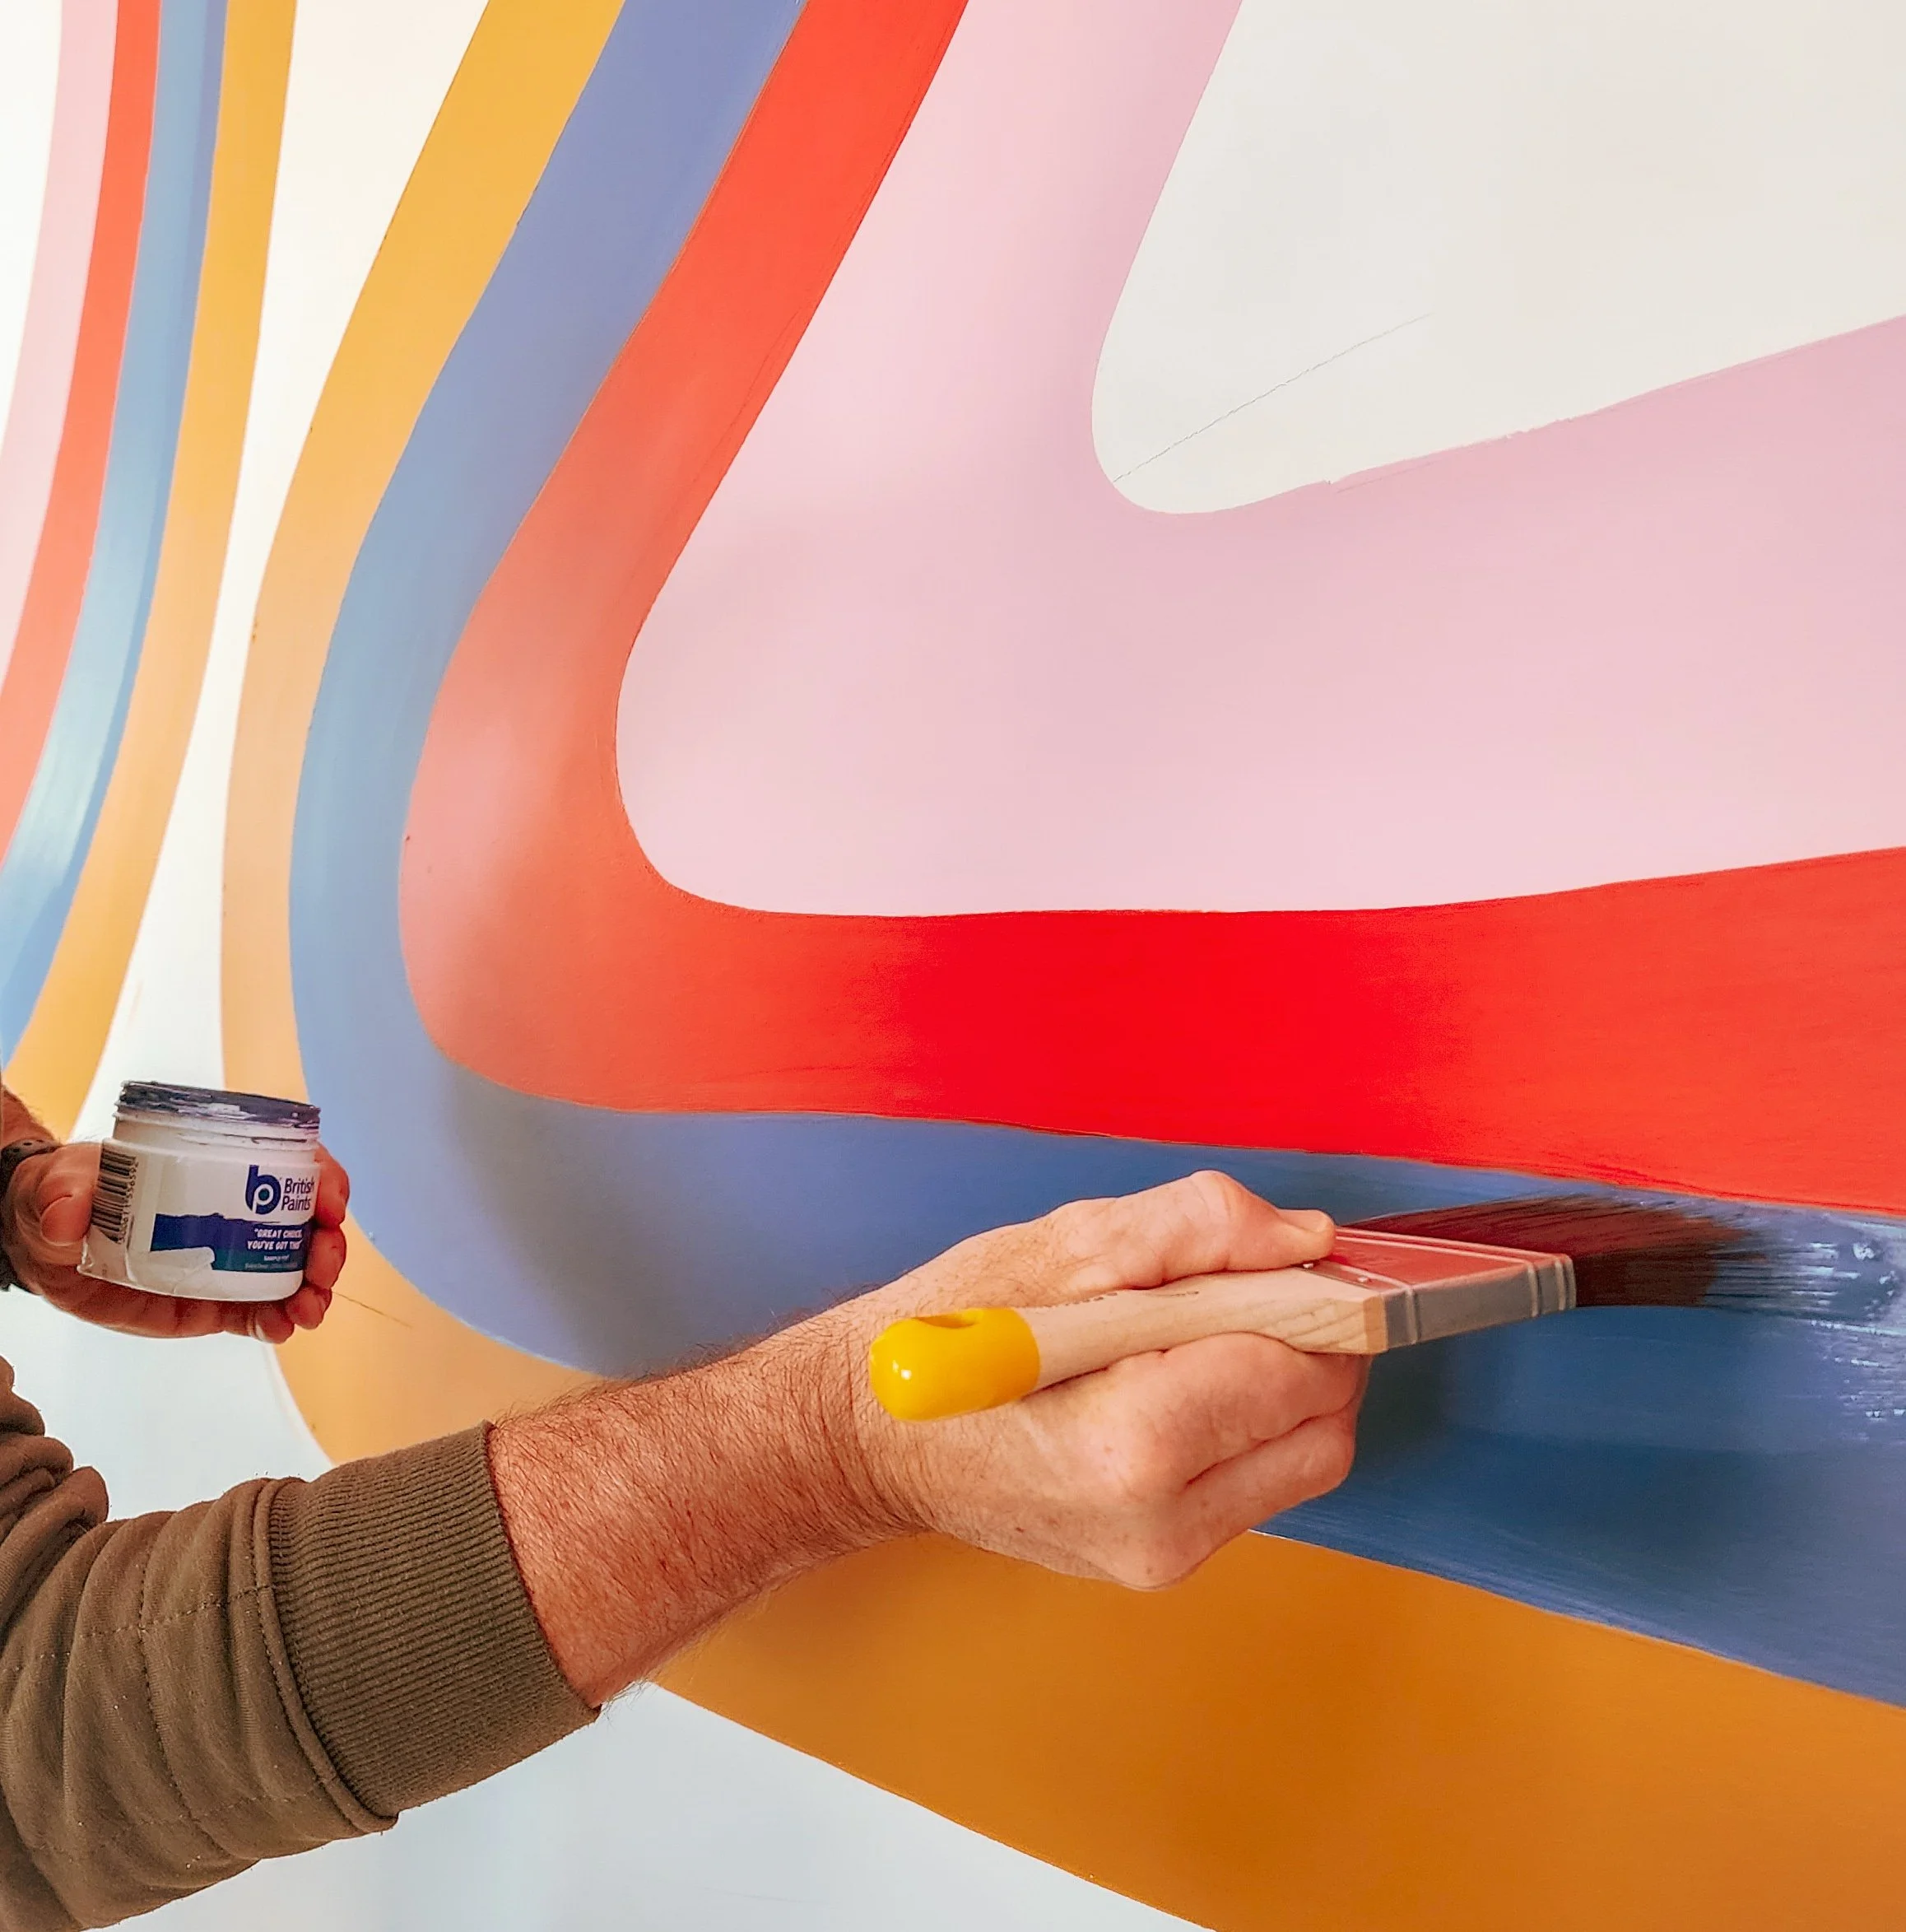
The next mural I chose to do was in the family room opposite the fireplace. For years I’ve loved the 70’s retro wallpaper patterns and thought I’d easily be able to accomplish the design in paint.
Oooooooh how wrong I was! Here are some tips, if you’d like to replicate this!
Hot Tips:
Straight lines would be much easier, definitely use frog tape if you can
Always paint alternate colours, never paint next to wet paint
Use a cutting in brush, I love the Bunnings brand flat edge brush
Each line will need at least three coats
Tidy up edges with white or wall colour when finished
Use chalk, not pencil
It has been by far the hardest project I’ve ever attempted! So, I called on the one person I knew who was both perfectionistic and patient enough to get the lines even straighter than me! Uncle Matthew himself! How’s that for a handball! Oops, sorry Matt!
Hidden Talent!
Matt absolutely loved being dragged into my vision!
While Matt was on “straight line duty” I started the next, way more fun mural!
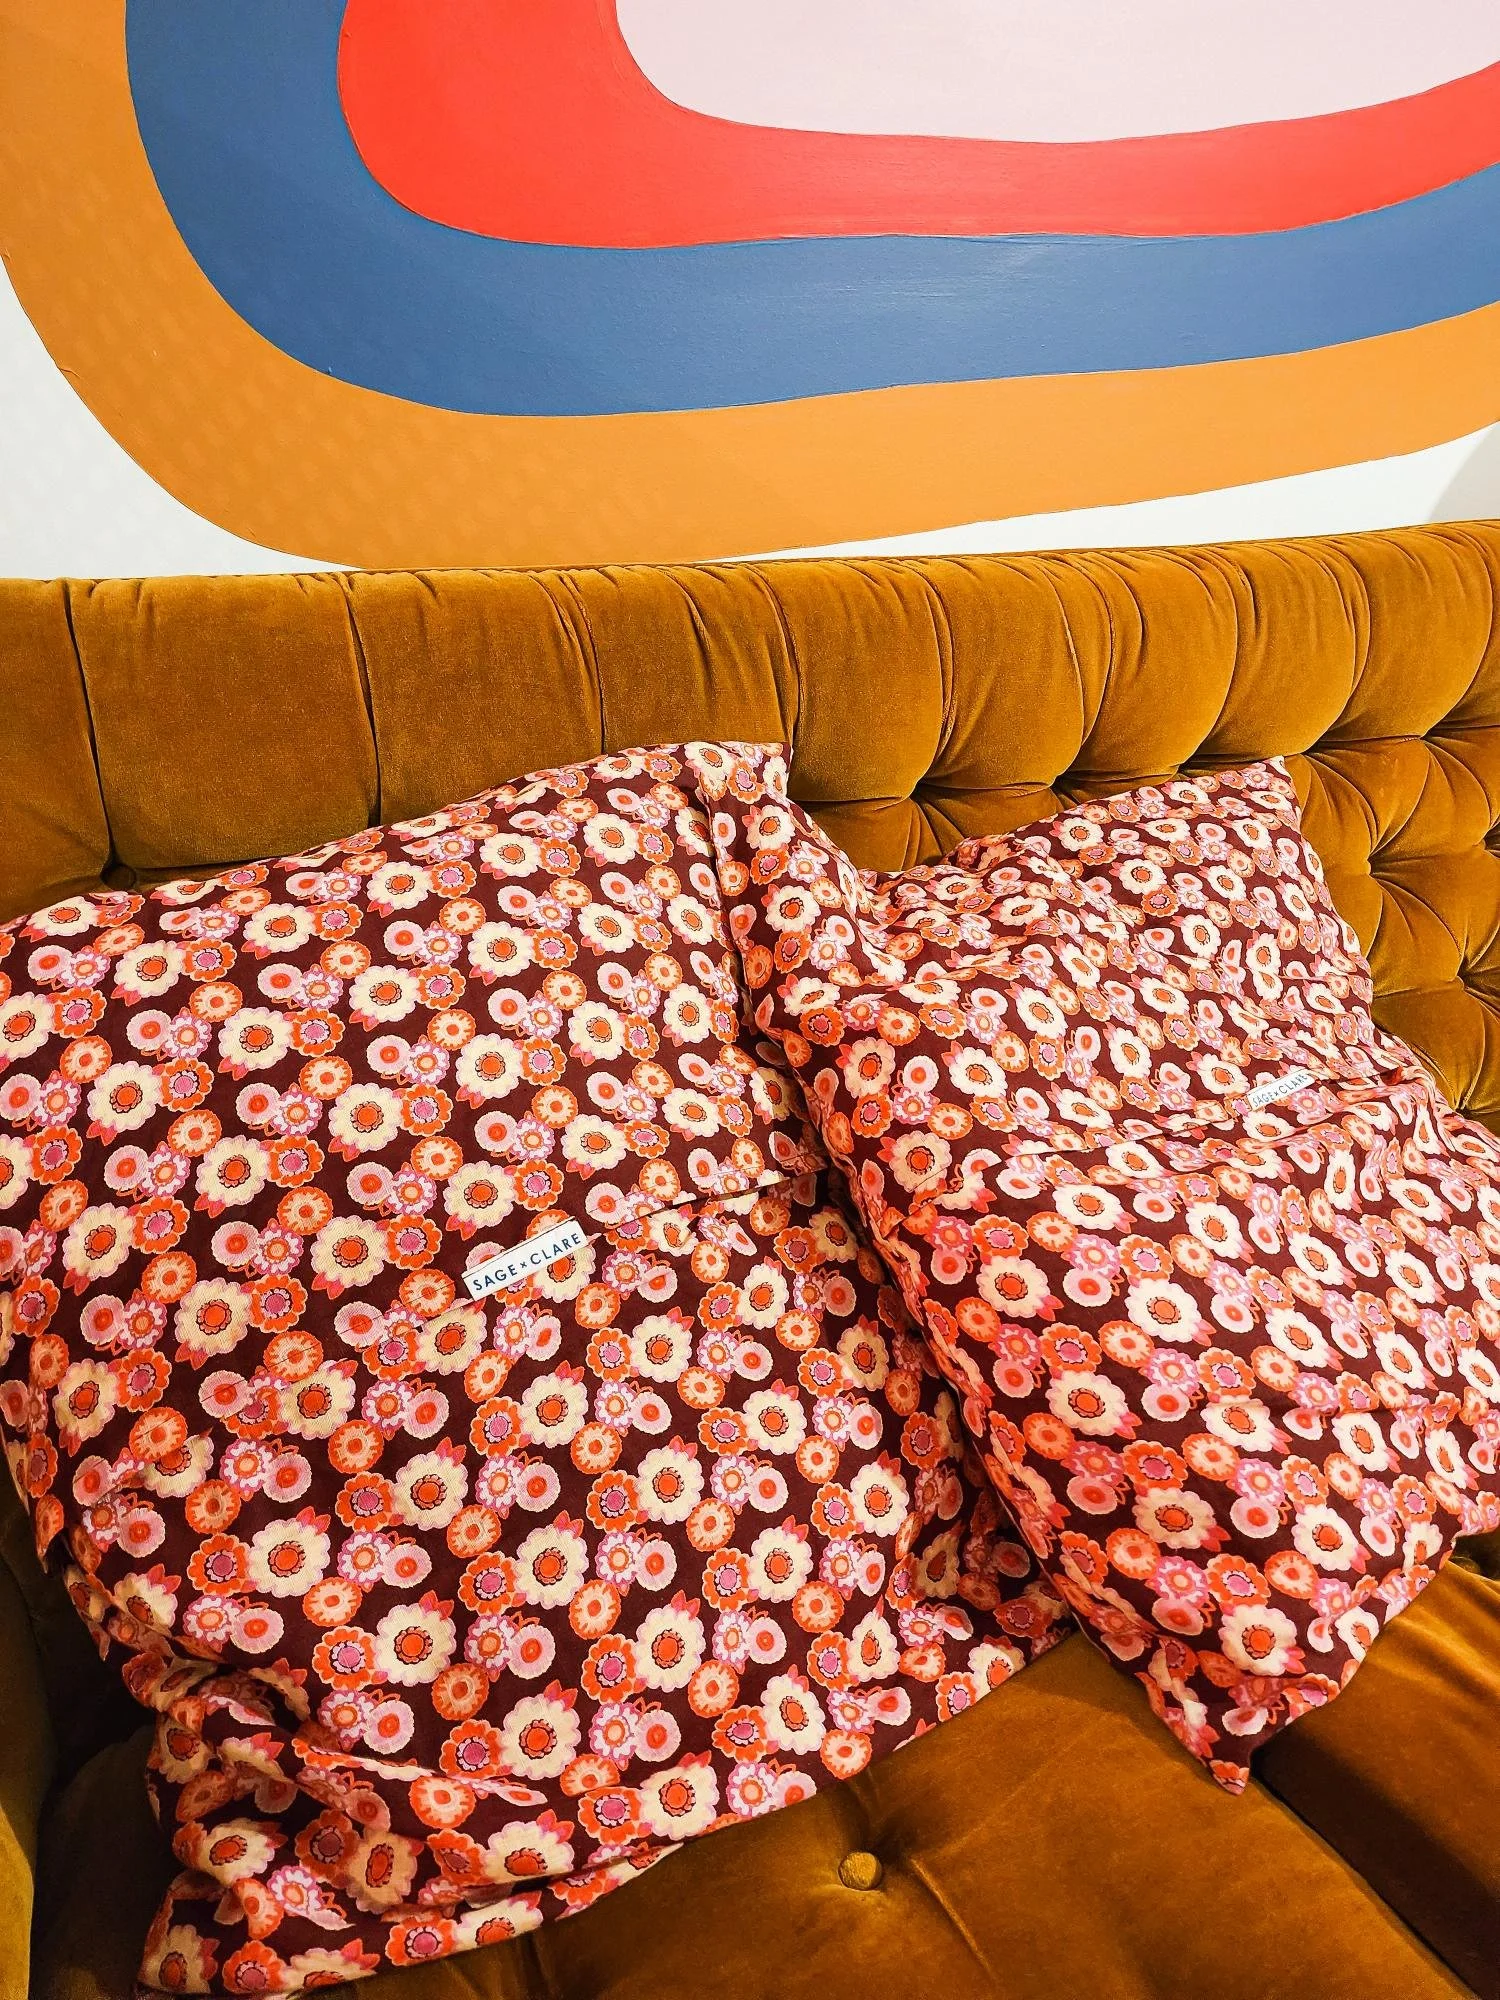
Thanks to Matt, Mural 2 turned out just the way I’d imagined and we both can’t stop staring at it!
Mural 3:
The next mural was in the lounge area. I wanted it to be an extension of our new logo with free-flowing shapes. Inspired by the colours in the new seasons collection by Lucy_Folk (my gorgeous friend and stylist Sarah Merrett pointed me in their direction and the vibe was spot on.)
Inspired by…
Colours for mural 3 were also inspired by the Pantone, Spring-Summer Palette for 2023!
Drawing the sketch over the entire wall in white chalk, only took about ten minutes. It was by far the most fun I had during this whole process! The original lounge room wall had been painted dark green (I had a phase) so in order to avoid repainting a thousand times to cover it, I thought it best to work it into the update! I wanted this space to feel a bit moody anyway, thinking of late night snuggles in front of the tele after a big day exploring!
I really love how it’s looking so far. Now, I just need to find the perfect lounge to snuggle on!
In between the painting escapades, we’ve been enjoying adventures with our daughter Bridie. We went for dinner at our local pub, The Dalrymple, the other night and fondly remembered one of my first murals, in the kids play room!
It all started here…
I’m at the point that I never want to leave, although I do know I have exciting times ahead in Adelaide, as my Fringe show ‘Paint Safari’ at Studio Safari starts in February.
For now, I’ll be here,
Forcing Matt to help me paint, whining about my bad back and loving every minute!


